
发布时间:2025-06-24 20:23:23 作者:北方职教升学中心 阅读量:330
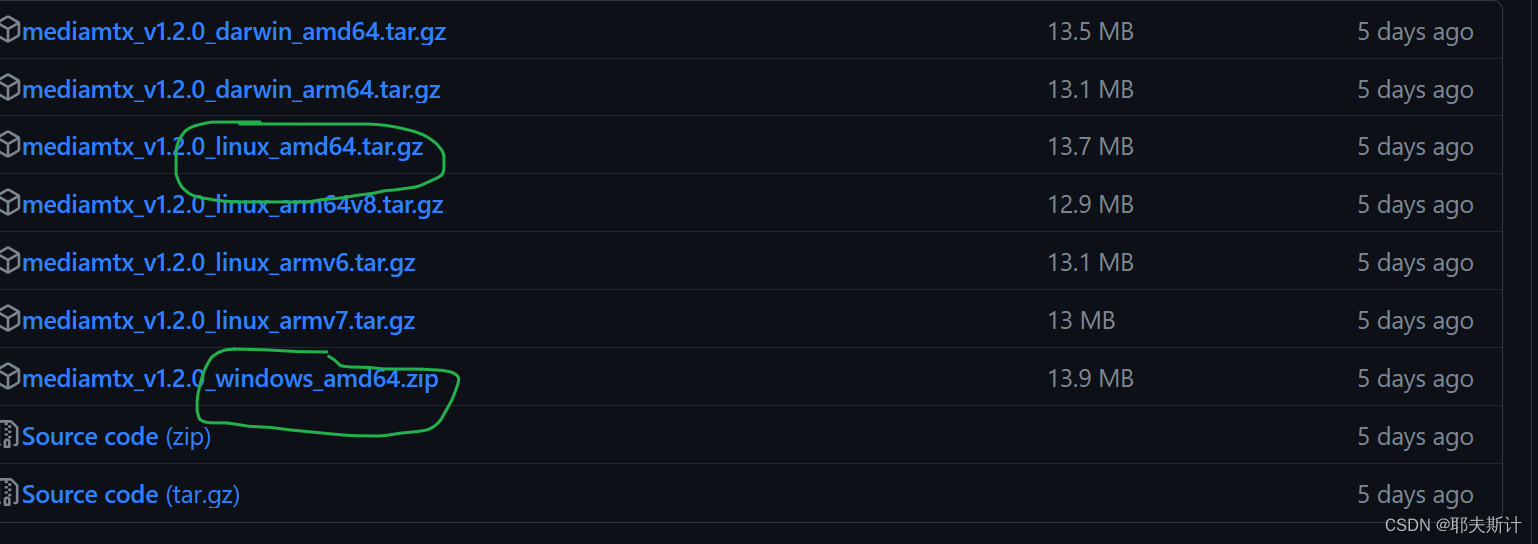
下载完毕后直接打开文件夹下的mediamtx.exe
Releases · bluenviron/mediamtx (github.com)
2.在代码中执行main.py函数
(1).修改rtmp_server的IP地址,改为你的主机ip地址
(2).修改opencv读取视频源的地址,代码中的位置为'video/test.mp4'
(3).修改onnx文件路径,代码中有coco数据集转化的onnx文件
(4).运行main.py
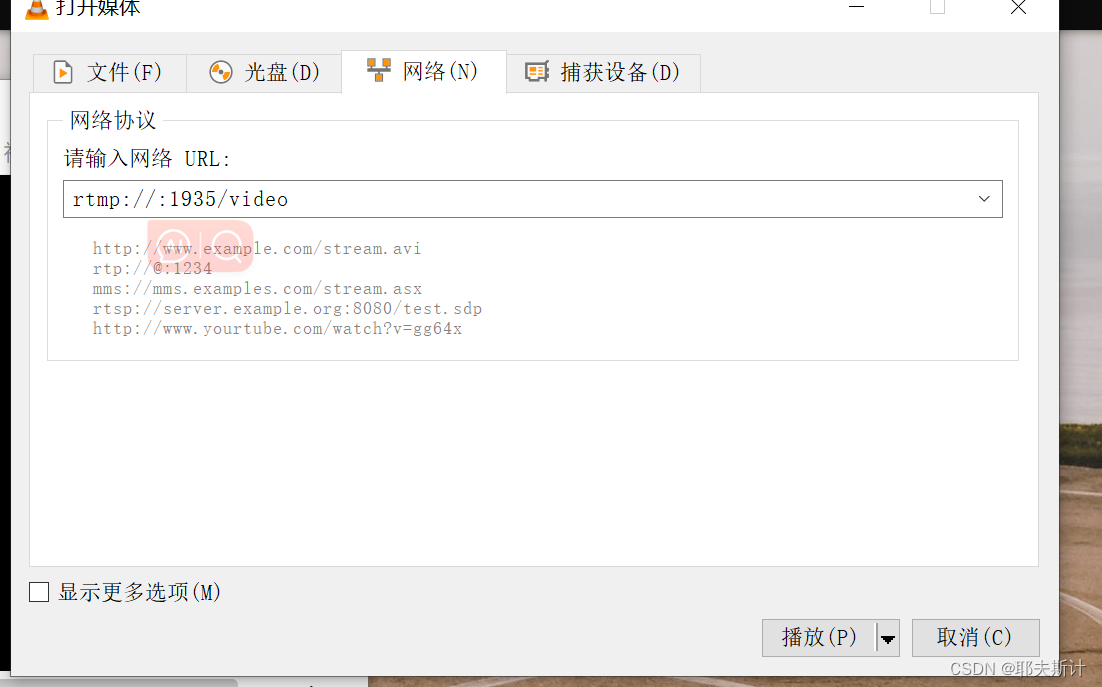
rtmp_server = 'rtmp://你的主机ip:1935/video'if __name__ == '__main__': parser = argparse.ArgumentParser() parser.add_argument('--imgpath', type=str, default='video/test.mp4', help="image path") parser.add_argument('--modelpath', type=str, default='models/yolov5s.onnx',help="onnx filepath") parser.add_argument('--confThreshold', default=0.3, type=float, help='class confidence') parser.add_argument('--nmsThreshold', default=0.5, type=float, help='nms iou thresh') args = parser.parse_args() # Initialize YOLOv5 object detector yolov5_detector = YOLOv5(args.modelpath, conf_thres=args.confThreshold, iou_thres=args.nmsThreshold) VID_FORMATS = ['asf', 'avi', 'gif', 'm4v', 'mkv', 'mov', 'mp4', 'mpeg', 'mpg', 'wmv'] # include video suffixes imgpath = args.imgpath print(imgpath.split('.')[-1]) if imgpath.split('.')[-1] in VID_FORMATS: cap = cv2.VideoCapture(imgpath) pusher = StreamPusher(rtmp_server) while True: success, srcimg = cap.read() srcimg = imutils.resize(srcimg, width=640) t1 = time.time() boxes, scores, class_ids = yolov5_detector.detect(srcimg) print(time.time() - t1) # 测量处理一帧图像的时间 用于评估模型的处理速度或性能(推理时间) # Draw detections dstimg = yolov5_detector.draw_detections(srcimg, boxes, scores, class_ids) print(time.time() - t1) # 测量了模型的推理时间以及绘制检测结果的时间 winName = 'Deep learning object detection in OpenCV' # cv2.namedWindow(winName, 0) # cv2.imshow(winName, dstimg) cv2.waitKey(1) pusher.streamPush(dstimg) cv2.destroyAllWindows() else: srcimg = cv2.imread(args.imgpath) # Detect Objects t1 = time.time() boxes, scores, class_ids = yolov5_detector.detect(srcimg) print(time.time() - t1) # Draw detections dstimg = yolov5_detector.draw_detections(srcimg, boxes, scores, class_ids) print(time.time() - t1) winName = 'Deep learning object detection in OpenCV' cv2.namedWindow(winName, 0) cv2.imshow(winName, dstimg) cv2.waitKey(0) cv2.destroyAllWindows()3.采用vlc拉流(输入步骤三中的rtmp_server地址):
4.代码解析
a.定义推流器:我在用的是ffmpeg进行推流,在虚拟环境中使用pip安装ffmpeg包
class StreamPusher: def __init__(self, rtmp_url): #接受一个参数rtmq_url 该参数受用于指定rtmq服务器地址的字符串 # 创建FFmpeg命令行参数 ffmpeg_cmd = ['ffmpeg', '-y', # 覆盖已存在的文件 '-f', 'rawvideo', #指定输入格式为原始视频帧数据 '-pixel_format', 'bgr24', #指定输入数据的像素格式为BGR24(一种图像颜色编码格式) '-video_size', '640x480', #指定输入视频的尺寸为640*480 '-i', '-', # 从标准输入读取数据 '-c:v', 'libx264', #指定视频编码器为libx264(H.264编码器) '-preset', 'ultrafast', #使用ultrafast预设,以获得更快的编码速度 '-tune', 'zerolatency', #使用zerolatency调整 以降低延迟 '-pix_fmt', 'yuv420p', #指定输出视频像素格式为yuv420p '-f', 'flv', #指定输出格式为FLV rtmp_url] #指定输出目标为‘rtmp_url' 即RTMP服务器地址 print('ffmpeg_cmd:', ffmpeg_cmd) # 启动 ffmpeg self.ffmepg_process = subprocess.Popen(ffmpeg_cmd, stdin=subprocess.PIPE) def streamPush(self, frame): #用于推送视频帧数据到FFmpeg进程 self.ffmepg_process.stdin.write(frame.tobytes())b.采用onnx格式文件来封装yolo的模型权重文件(可以去github上下载yolo源码生成.onnx文件),因为onnx只是模型和权重文件,其他一些的后处理组件要自己定义,具体如下:
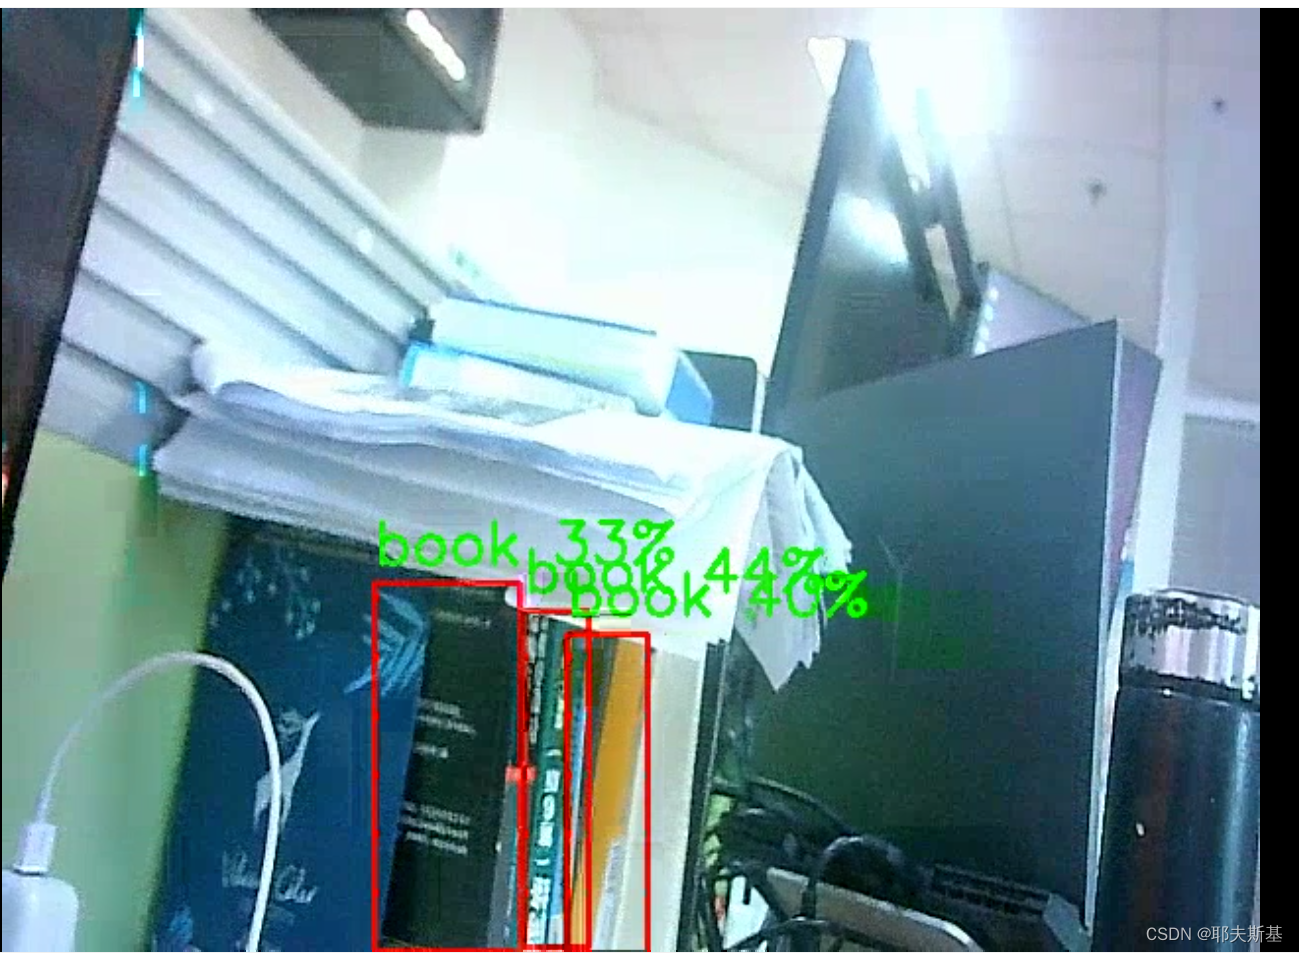
class YOLOv5: def __init__(self, path, conf_thres=0.7, iou_thres=0.5): self.conf_threshold = conf_thres self.iou_threshold = iou_thres self.class_names = list(map(lambda x: x.strip(), open('coco.names', 'r').readlines())) # Initialize model self.session = onnxruntime.InferenceSession(path, providers=['CUDAExecutionProvider', 'CPUExecutionProvider']) model_inputs = self.session.get_inputs() self.input_names = [model_inputs[i].name for i in range(len(model_inputs))] self.input_shape = model_inputs[0].shape self.input_height = self.input_shape[2] self.input_width = self.input_shape[3] model_outputs = self.session.get_outputs() self.output_names = [model_outputs[i].name for i in range(len(model_outputs))] self.has_postprocess = 'score' in self.output_names def detect(self, image): input_tensor = self.prepare_input(image) # Perform inference on the image outputs = self.session.run(self.output_names, {self.input_names[0]: input_tensor}) if self.has_postprocess: boxes, scores, class_ids = self.parse_processed_output(outputs) else: # Process output data boxes, scores, class_ids = self.process_output(outputs) return boxes, scores, class_ids def prepare_input(self, image): self.img_height, self.img_width = image.shape[:2] input_img = cv2.cvtColor(image, cv2.COLOR_BGR2RGB) # Resize input image input_img = cv2.resize(input_img, (self.input_width, self.input_height)) # Scale input pixel values to 0 to 1 input_img = input_img / 255.0 input_img = input_img.transpose(2, 0, 1) input_tensor = input_img[np.newaxis, :, :, :].astype(np.float32) return input_tensor def process_output(self, output): predictions = np.squeeze(output[0]) # 输出一个多维数组 # Filter out object confidence scores below threshold obj_conf = predictions[:, 4] predictions = predictions[obj_conf > self.conf_threshold] obj_conf = obj_conf[obj_conf > self.conf_threshold] # Multiply class confidence with bounding box confidence predictions[:, 5:] *= obj_conf[:, np.newaxis] # Get the scores scores = np.max(predictions[:, 5:], axis=1) # Filter out the objects with a low score valid_scores = scores > self.conf_threshold predictions = predictions[valid_scores] scores = scores[valid_scores] # Get the class with the highest confidence class_ids = np.argmax(predictions[:, 5:], axis=1) # Get bounding boxes for each object boxes = self.extract_boxes(predictions) # Apply non-maxima suppression to suppress weak, overlapping bounding boxes # indices = nms(boxes, scores, self.iou_threshold) nms_indices = cv2.dnn.NMSBoxes(boxes.tolist(), scores.tolist(), self.conf_threshold, self.iou_threshold) indices = np.array(nms_indices).flatten().astype(int) return boxes[indices], scores[indices], class_ids[indices] def parse_processed_output(self, outputs): scores = np.squeeze(outputs[self.output_names.index('score')]) predictions = outputs[self.output_names.index('batchno_classid_x1y1x2y2')] # Filter out object scores below threshold valid_scores = scores > self.conf_threshold predictions = predictions[valid_scores, :] scores = scores[valid_scores] # Extract the boxes and class ids # TODO: Separate based on batch number batch_number = predictions[:, 0] class_ids = predictions[:, 1] boxes = predictions[:, 2:] # In postprocess, the x,y are the y,x boxes = boxes[:, [1, 0, 3, 2]] # Rescale boxes to original image dimensions boxes = self.rescale_boxes(boxes) return boxes, scores, class_ids def extract_boxes(self, predictions): # Extract boxes from predictions boxes = predictions[:, :4] # Scale boxes to original image dimensions boxes = self.rescale_boxes(boxes) # Convert boxes to xywh format boxes_ = np.copy(boxes) boxes_[..., 0] = boxes[..., 0] - boxes[..., 2] * 0.5 boxes_[..., 1] = boxes[..., 1] - boxes[..., 3] * 0.5 return boxes_ def rescale_boxes(self, boxes): # Rescale boxes to original image dimensions input_shape = np.array([self.input_width, self.input_height, self.input_width, self.input_height]) boxes = np.divide(boxes, input_shape, dtype=np.float32) boxes *= np.array([self.img_width, self.img_height, self.img_width, self.img_height]) return boxes def draw_detections(self, image, boxes, scores, class_ids): for box, score, class_id in zip(boxes, scores, class_ids): x, y, w, h = box.astype(int) # Draw rectangle cv2.rectangle(image, (x, y), (x + w, y + h), (0, 0, 255), thickness=2) label = self.class_names[class_id] label = f'{label} {int(score * 100)}%' labelSize, baseLine = cv2.getTextSize(label, cv2.FONT_HERSHEY_SIMPLEX, 0.5, 1) # top = max(y1, labelSize[1]) # cv.rectangle(frame, (left, top - round(1.5 * labelSize[1])), (left + round(1.5 * labelSize[0]), top + baseLine), (255,255,255), cv.FILLED) cv2.putText(image, label, (x, y - 10), cv2.FONT_HERSHEY_SIMPLEX, 1, (0, 255, 0), thickness=2) return image效果展示:
以上代码借鉴了很多博主的文章,具体的忘记了。整个代码是根据python实现的,考虑采用C++代替来提高速度。
